Próbki kolorów drzwi


1.1. Get the Pack #1 and open it.
PACK #1
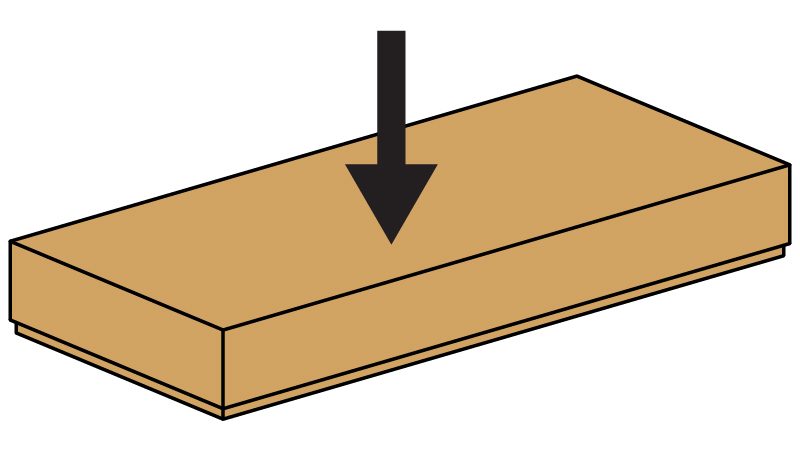
1.2. Place the cardboard pads on the floor and use them as safety pads for laying down the parts of the door.
watchout
information about
safety pads from cardboard
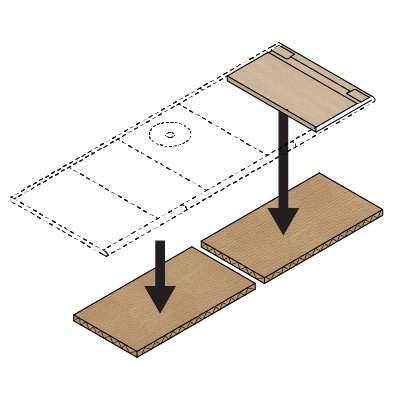
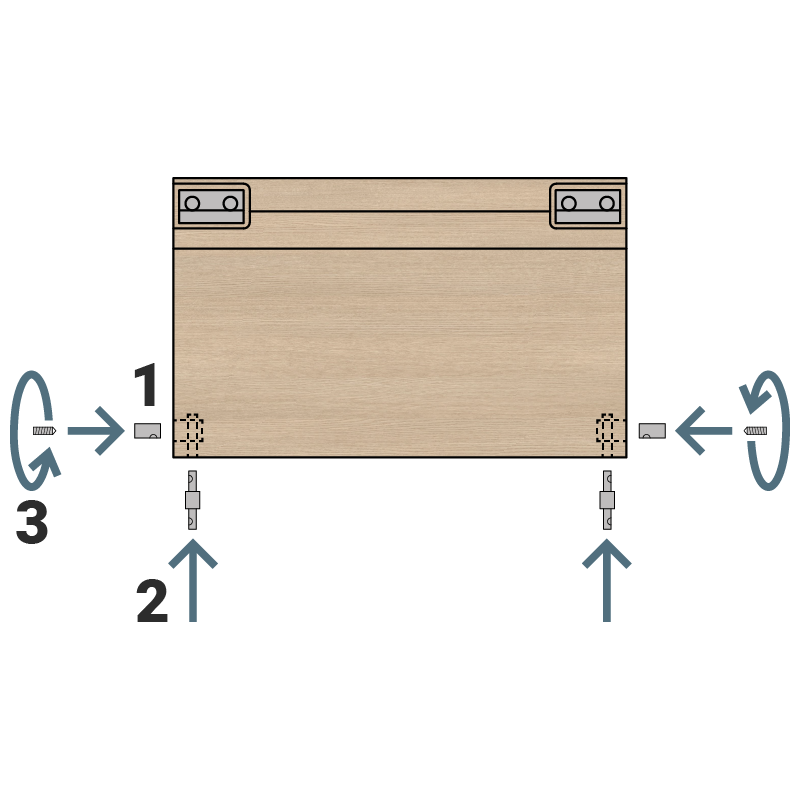
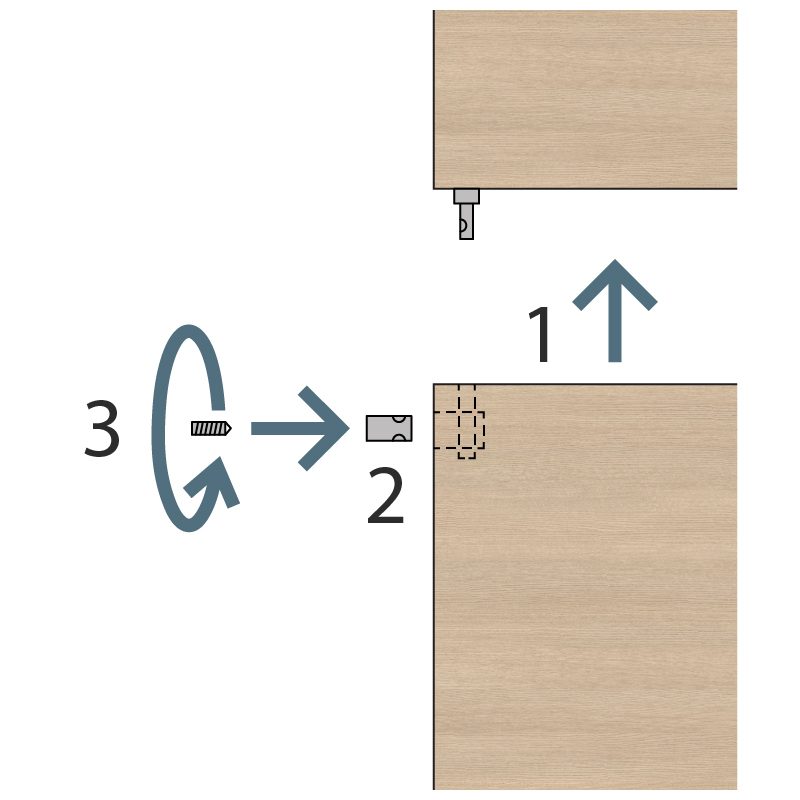
1.3. Get the first panel out and attach the connectors, in the order as shown on the picture below.
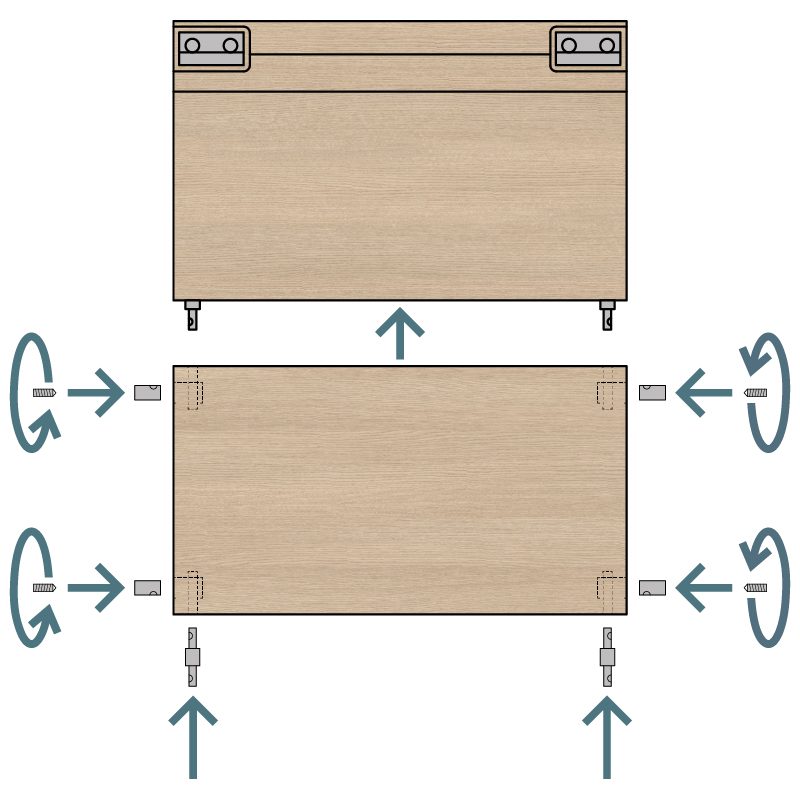
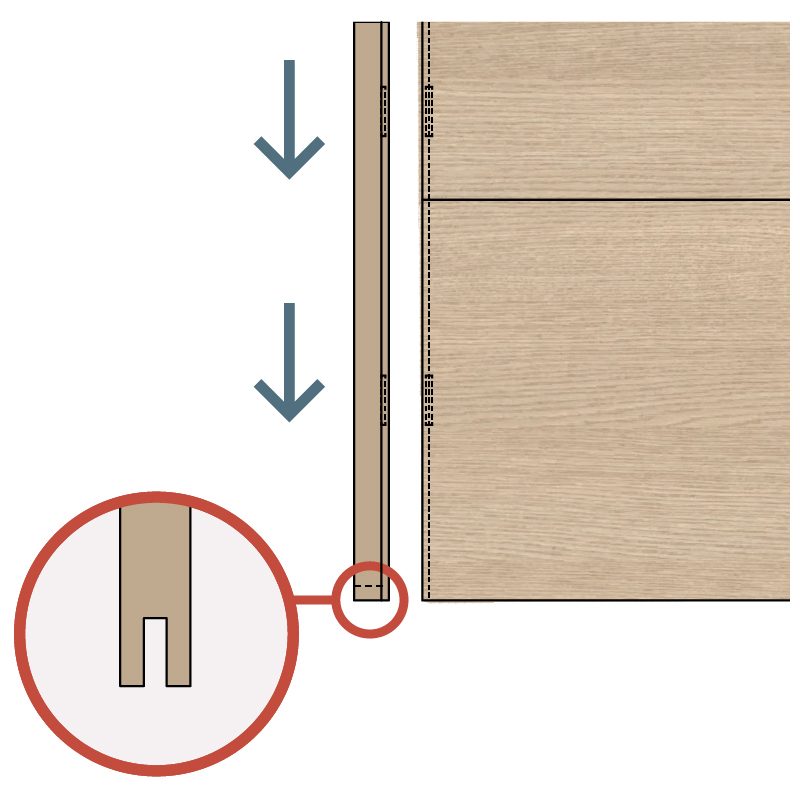
1.4. Attach the second panel to the first panel then install the connectors.
1.5. Attach the third panel making sure it has the proper orientation.
watchout
third panel orientation / opening door direction
1.6. Get the Pack #2 and open it.
PACK #2
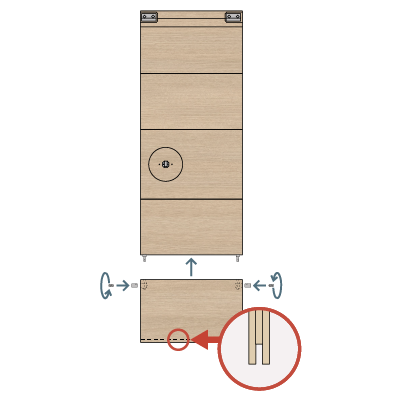
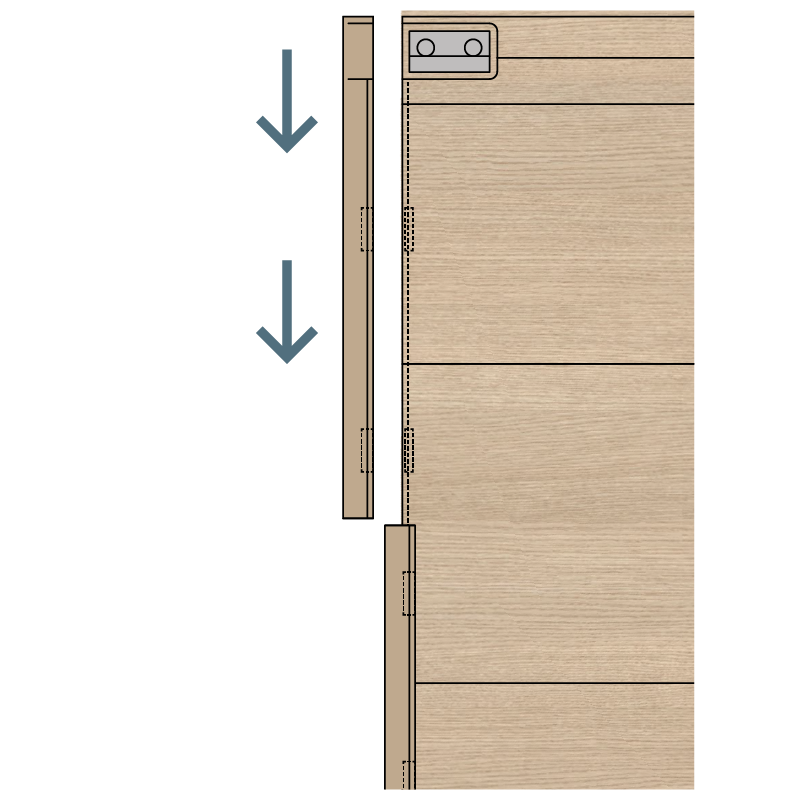
1.7. Attach the fourth panel and the connectors.

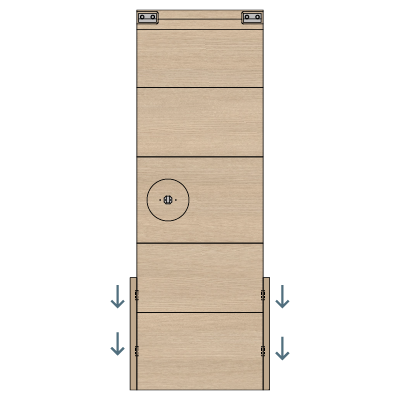
1.8. Attach the fifth panel.

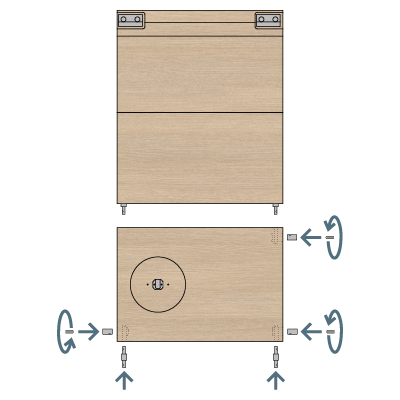
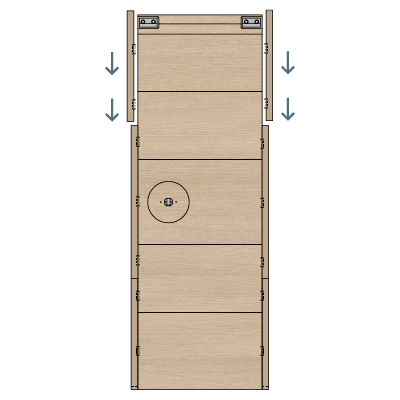
2.1. Attach the bottom side bars.
2.2. Attach the middle side bars.
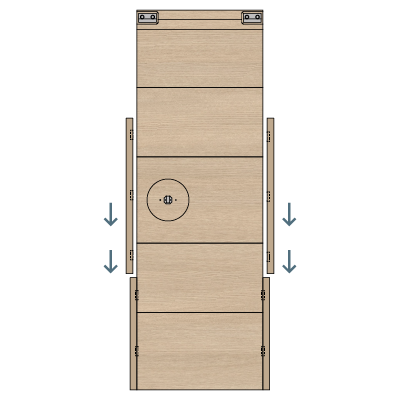
2.3. Attach the upper side bars.

3.1. Prepare the tools for assembly: pencil, drill, spirit level, stable chair or ladder.

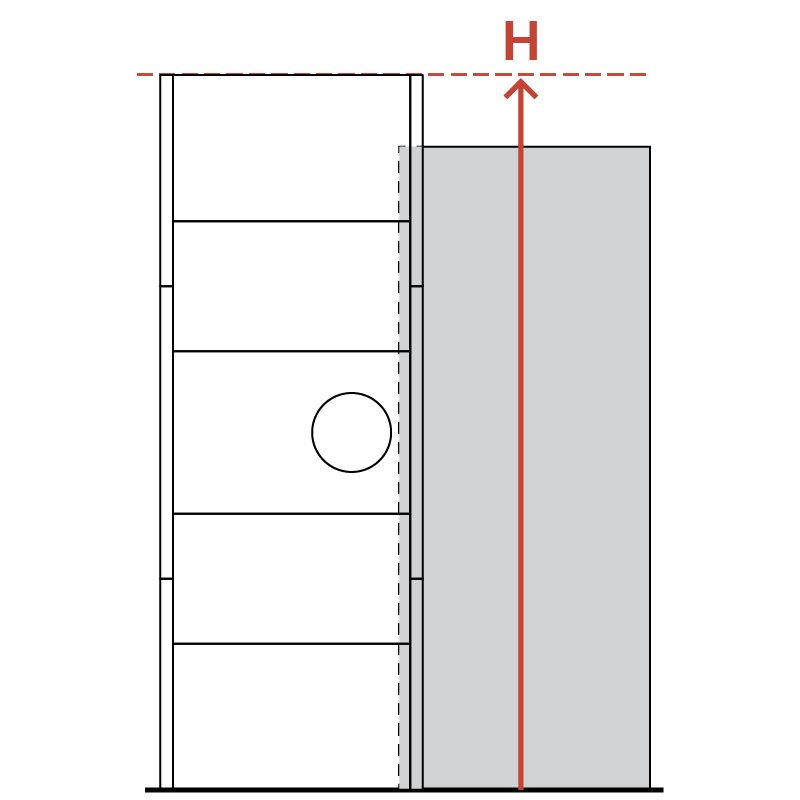
3.2. Make a note of the total height of the door (H – door height).
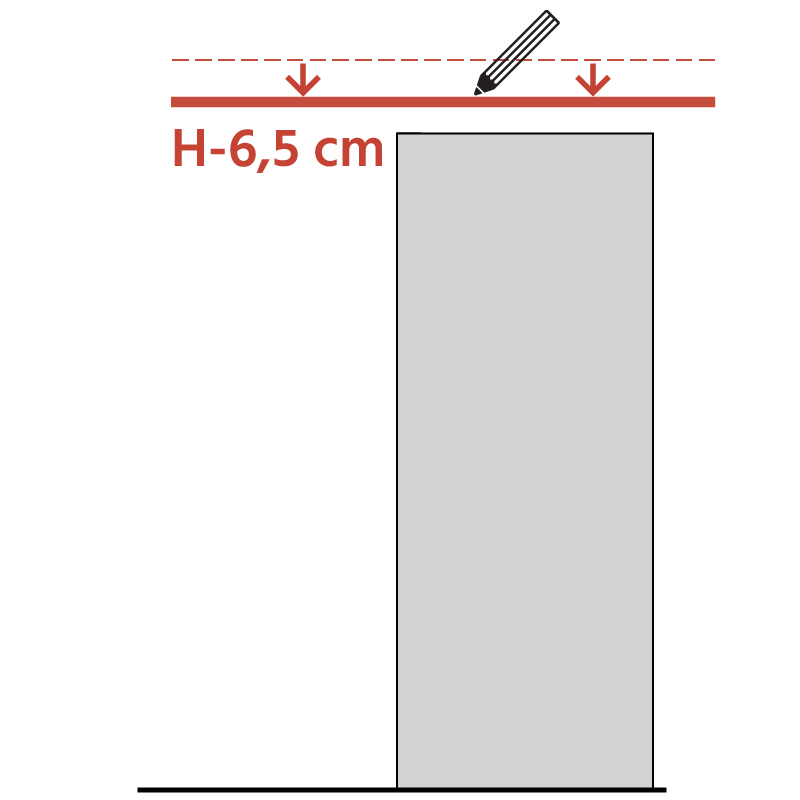
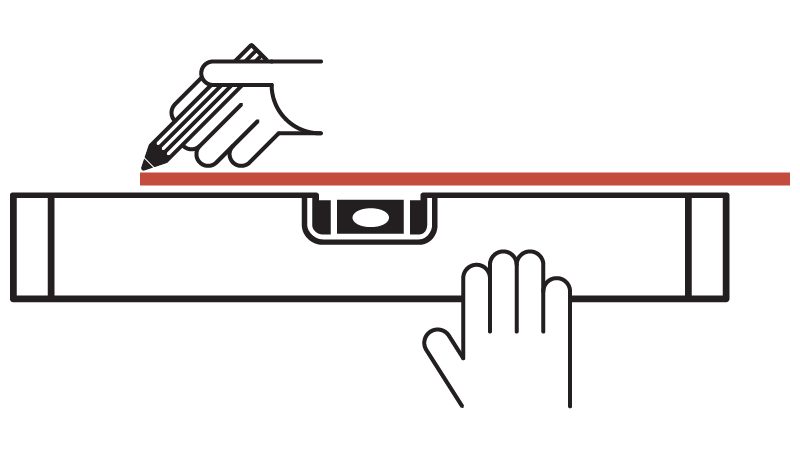
3.3. Using the value H from previous step, calculate and mark the position for the sliding track at (H – 6,5) cm. Draw the line using pencil and bubble-level.
watchout
Draw the line using spirit level to get the correct level for installing the track, otherwise the doors might slide on a tilted track.
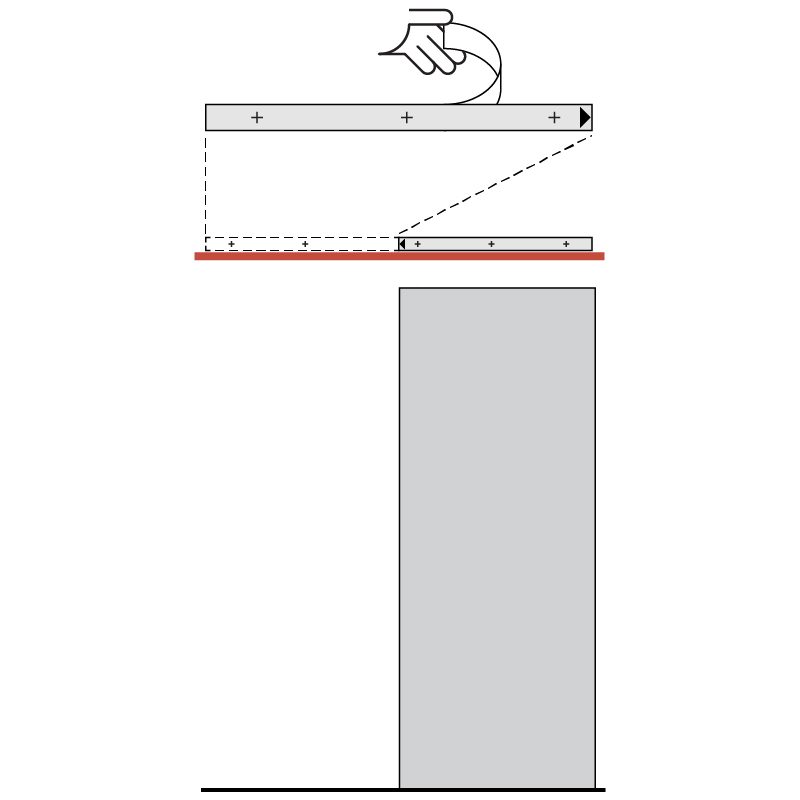
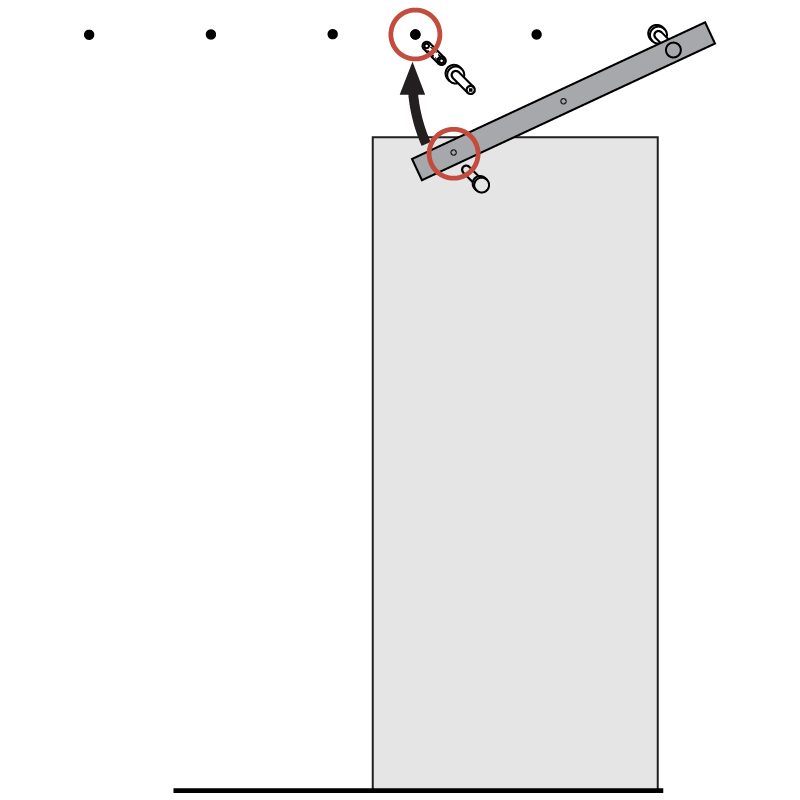
3.4. Stick the first part of the drilling template to the wall.
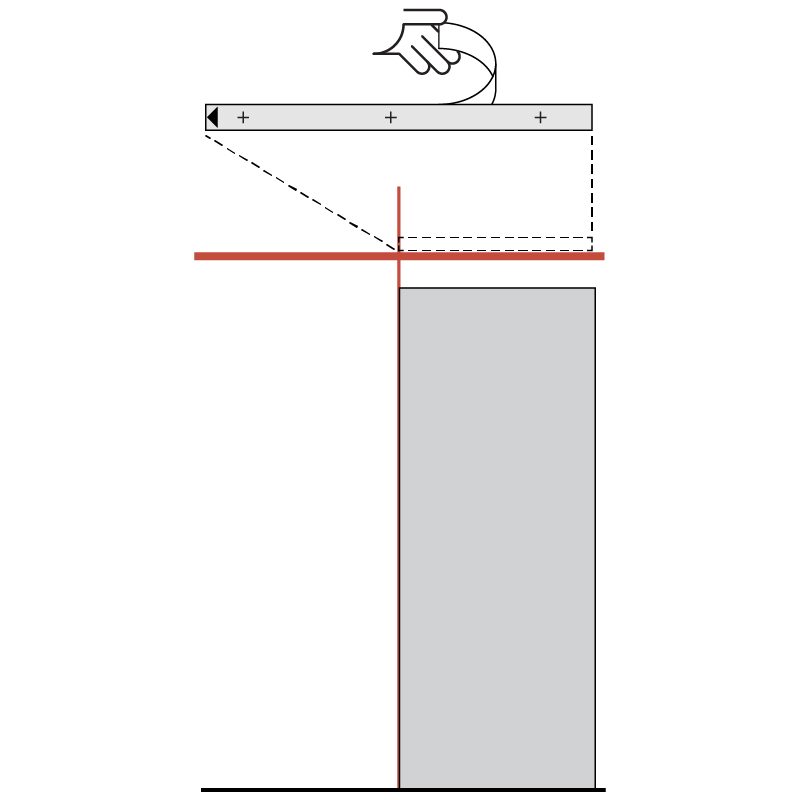
3.5. Stick the second part of the drilling template to the wall.
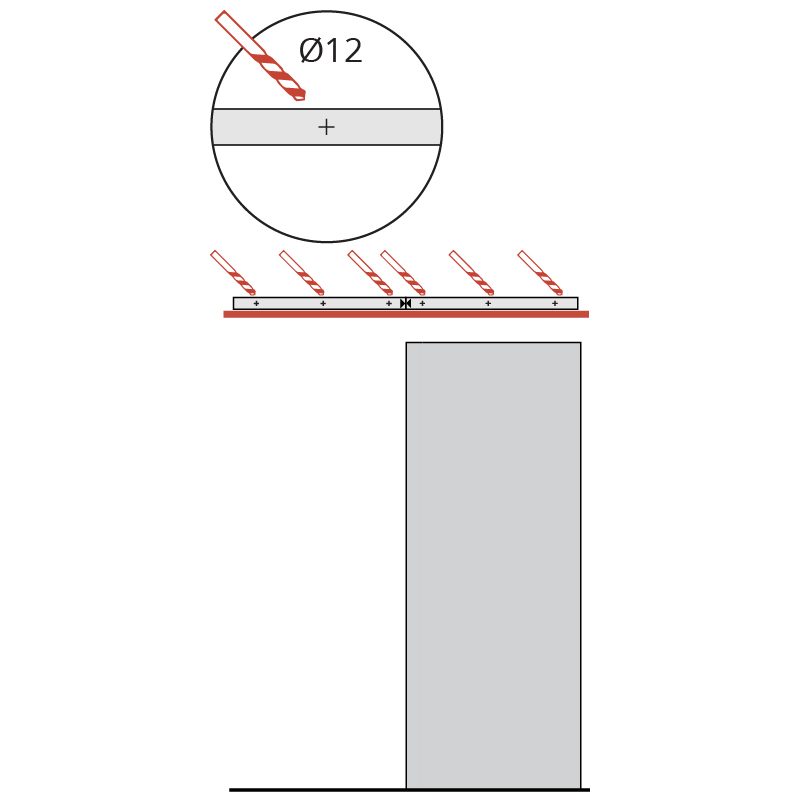
3.6. Drill the holes in the marked points.
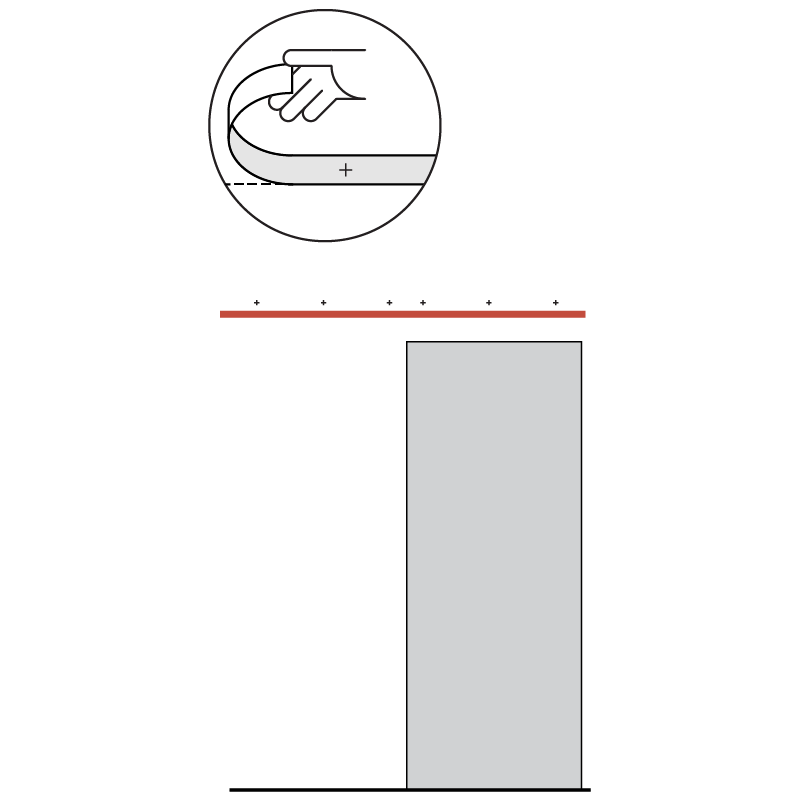
3.7. Peel off the template stickers.
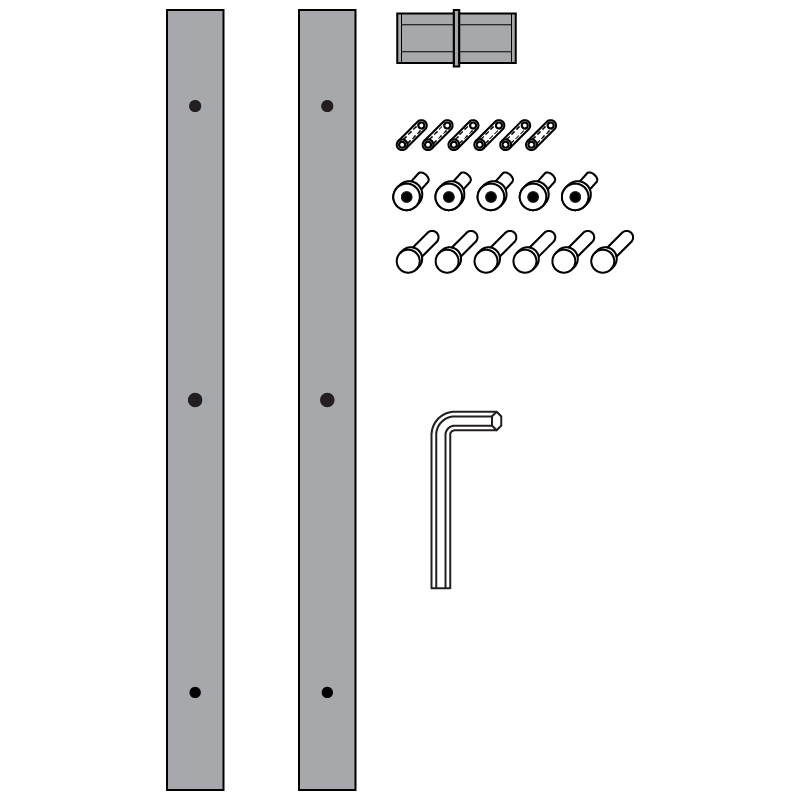
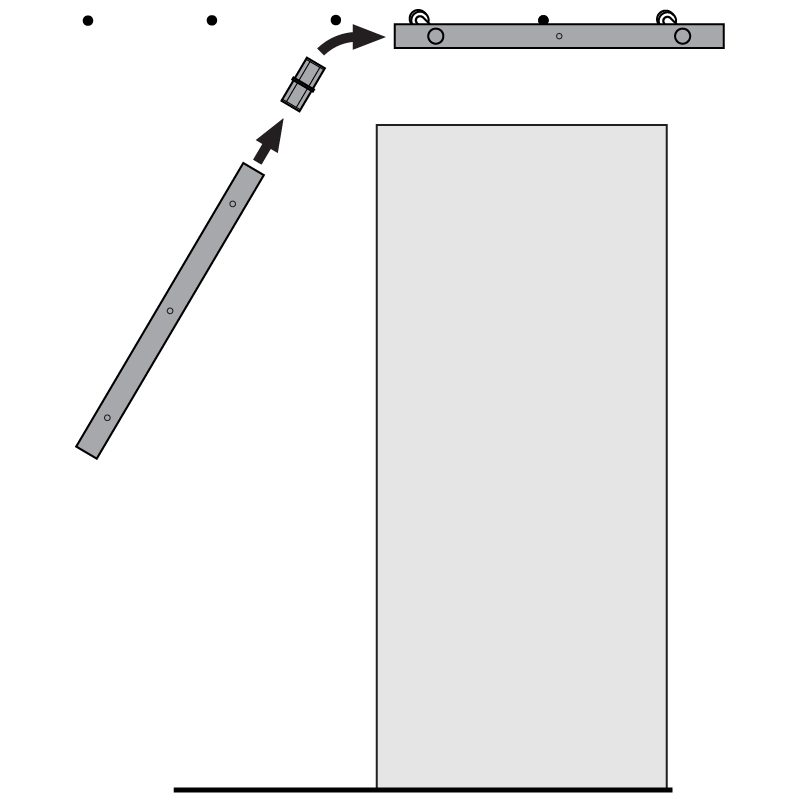
3.8. Prepare elements for the track assembly.
3.9. Mount the first screw.
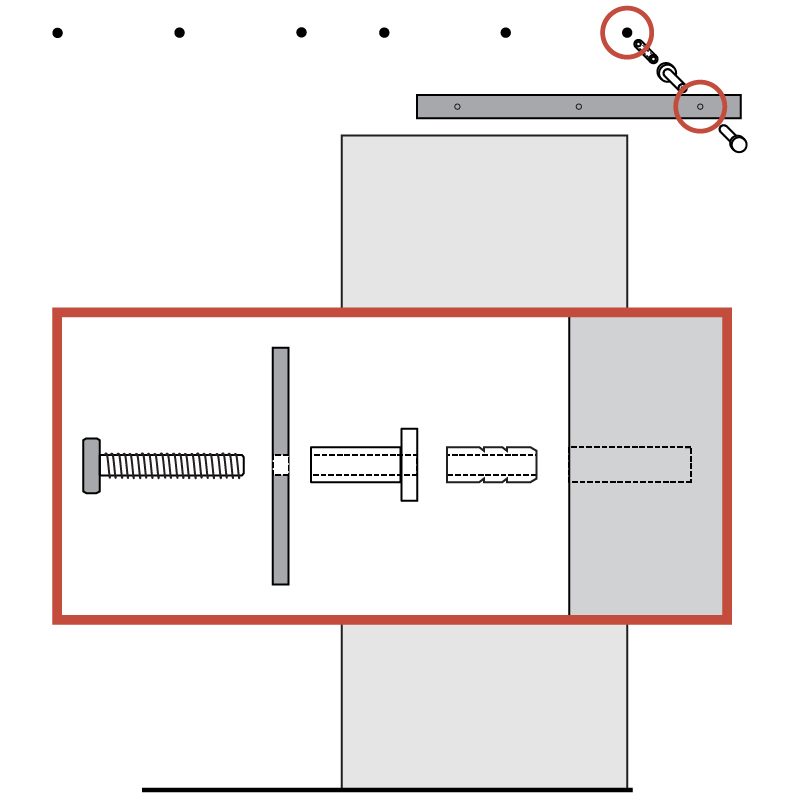
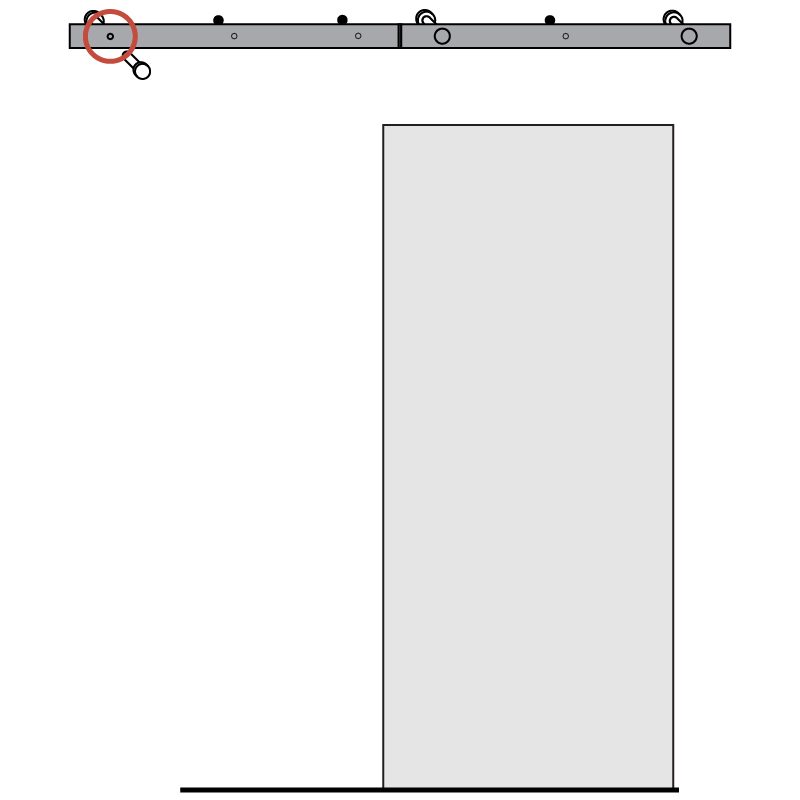
3.10. Mount second screw for first part of the track.
3.11. Connect the second part of the track using the connecting element.
3.12. Mount the end screw on the second part of the track.
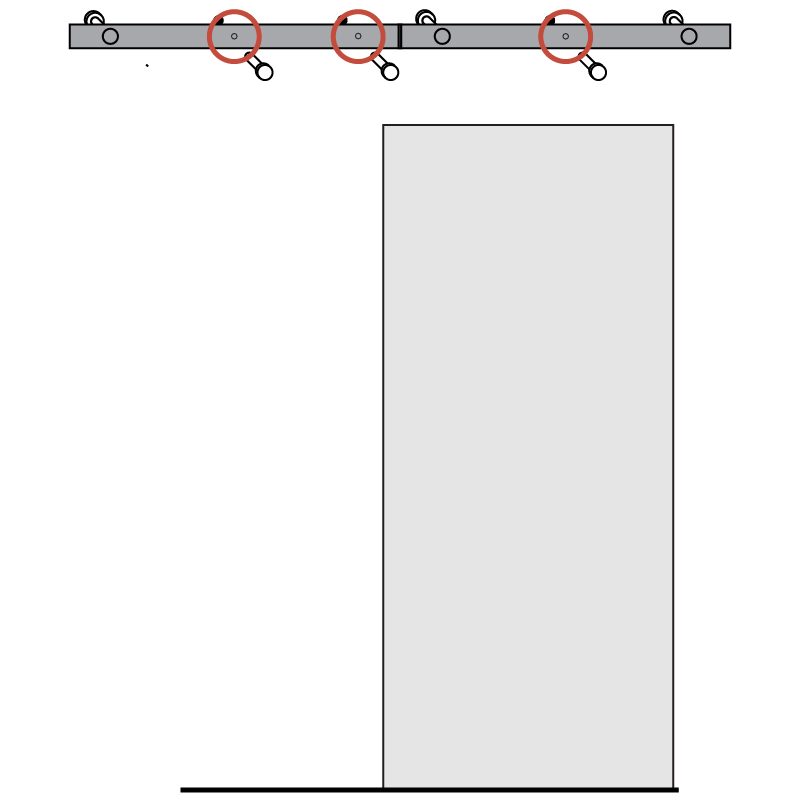
3.13. Mount all the remaining screws.
3.14. Lift the door, making sure you don’t damage the corners.
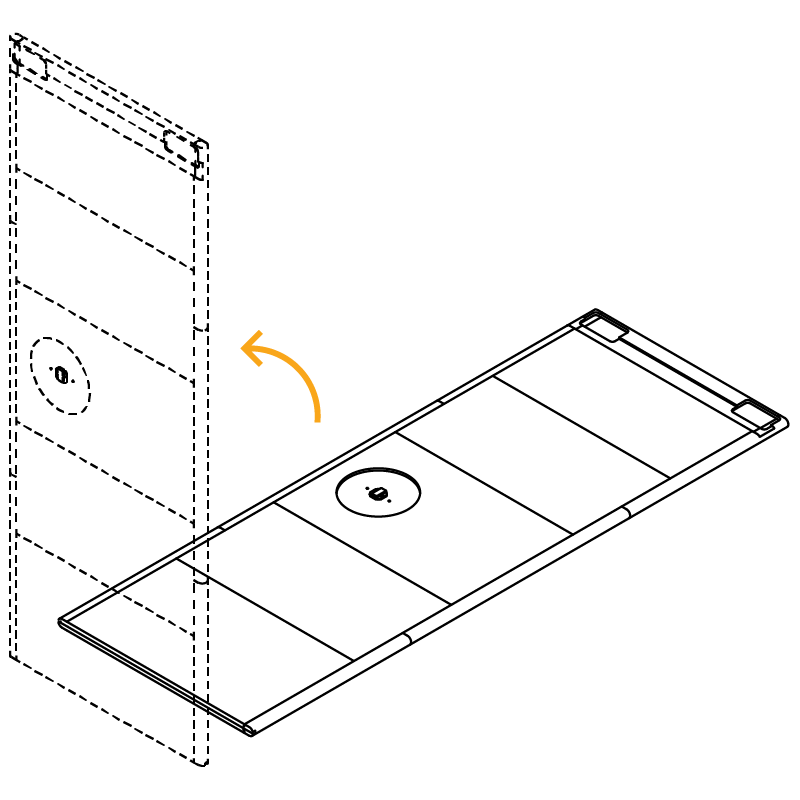
watchout
how to safely filt the door
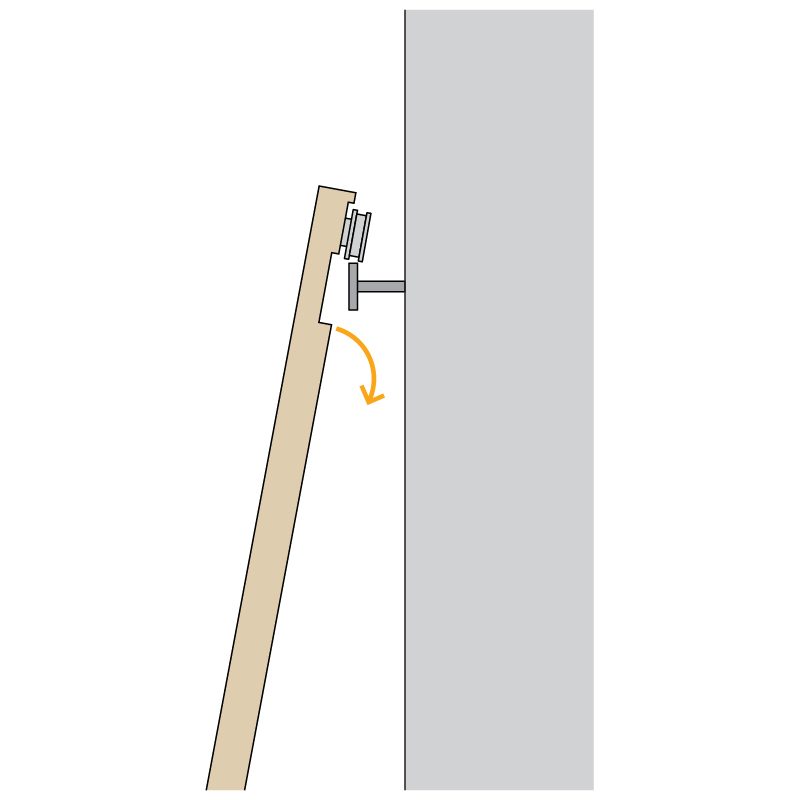
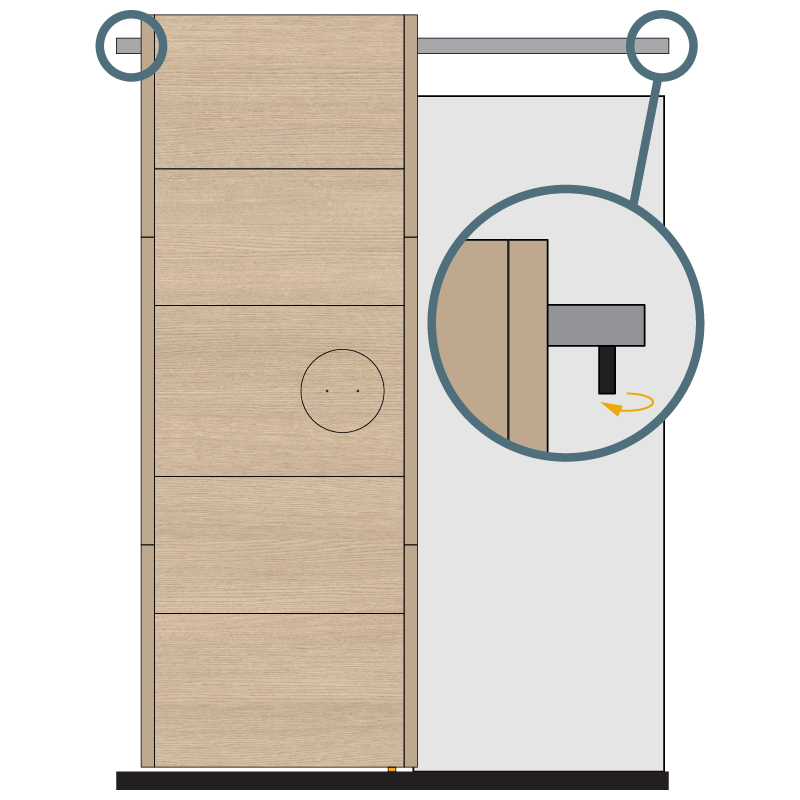
3.15. Hang the door onto the sliding track.
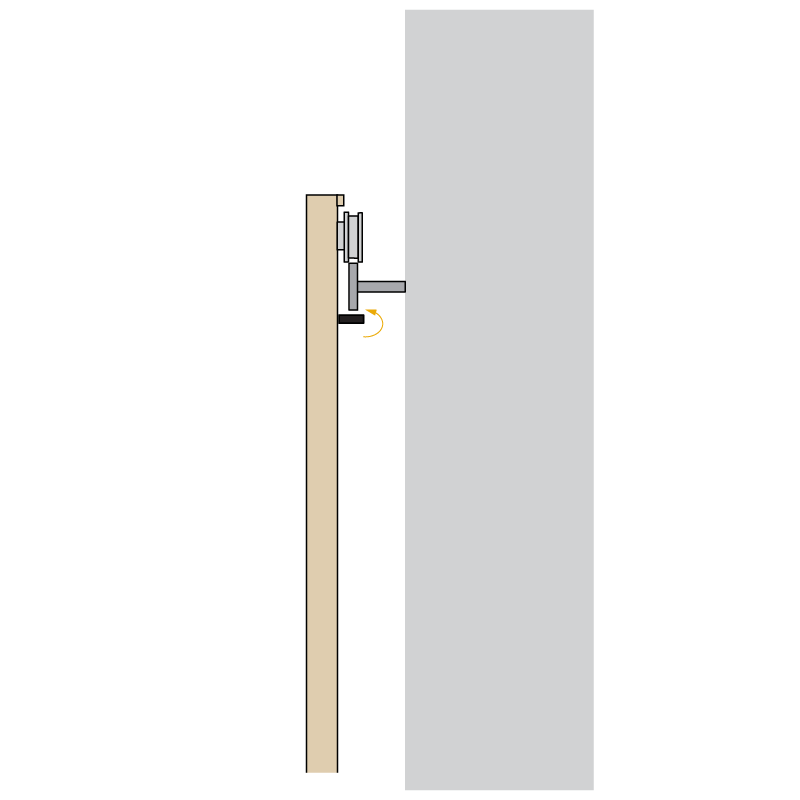
3.16. Mount the anti-jumps onto the door.
3.17. Mount the bottom guide close to the edge of the door opening (approx. 1-3 cm from the edge), so that when the door is fully open or closed, the bottom guide will always be in the door line.

3.18. Mount the stoppers on both sides of the track.

4.1. Get the Pack #3 and open it.
PACK #3
4.2. Mount two plates with handle using two screws.
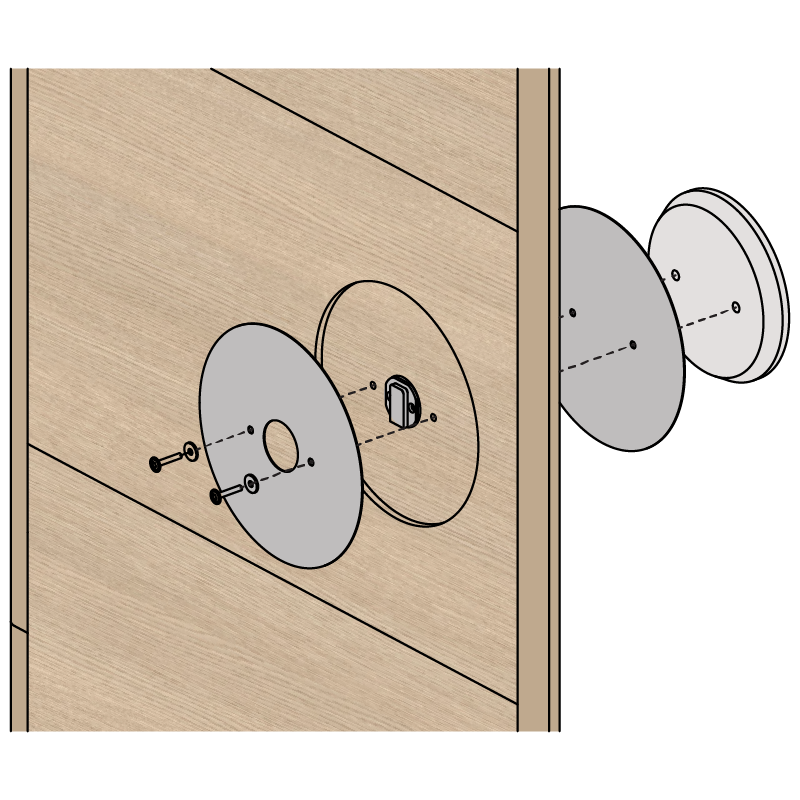
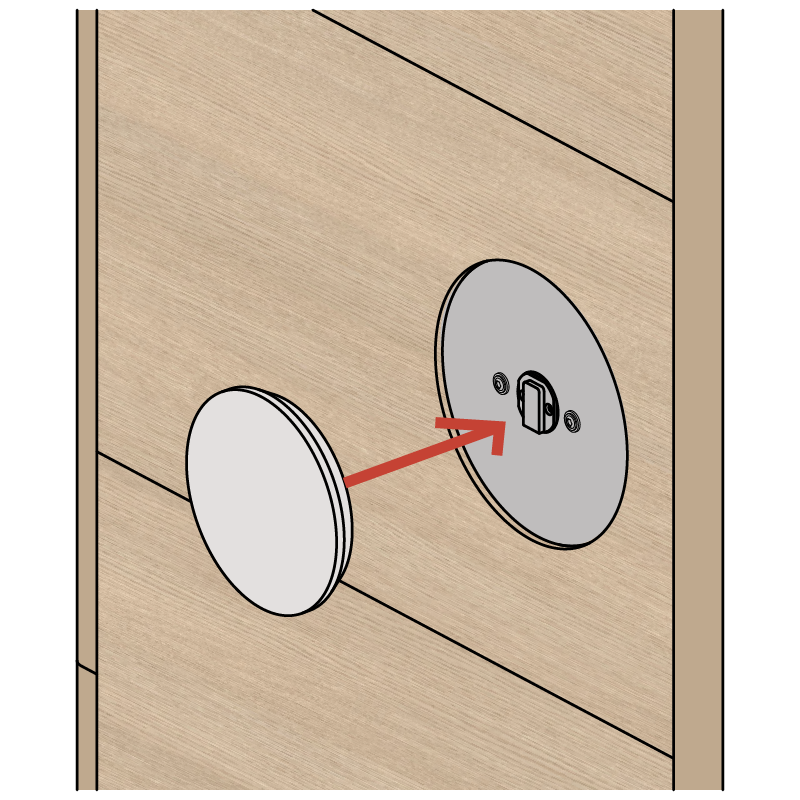
4.3. Mount front part of the handle onto the connector.
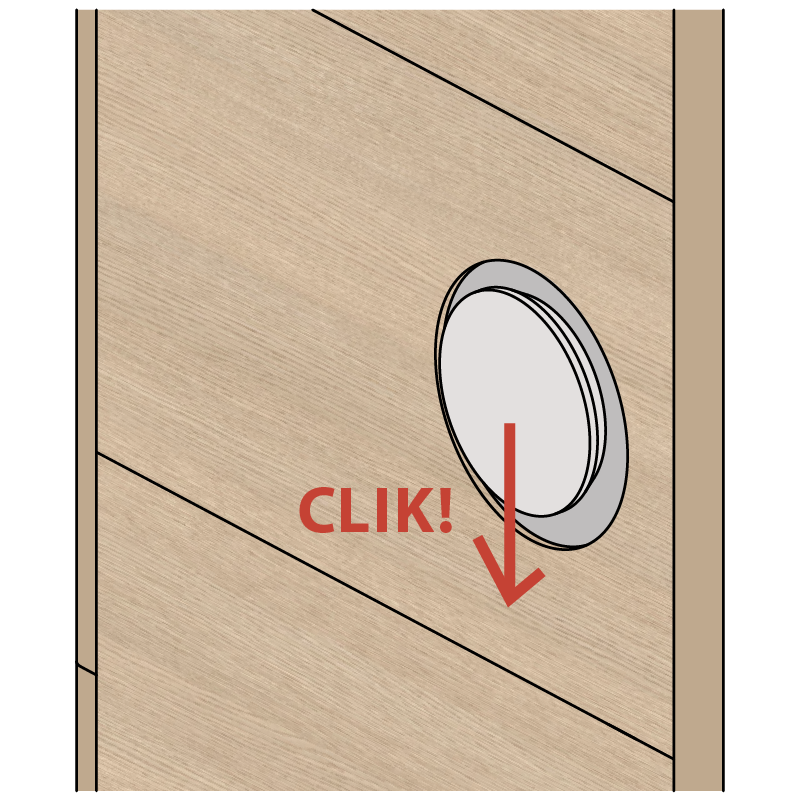
4.4. Move handle down until lock in position.
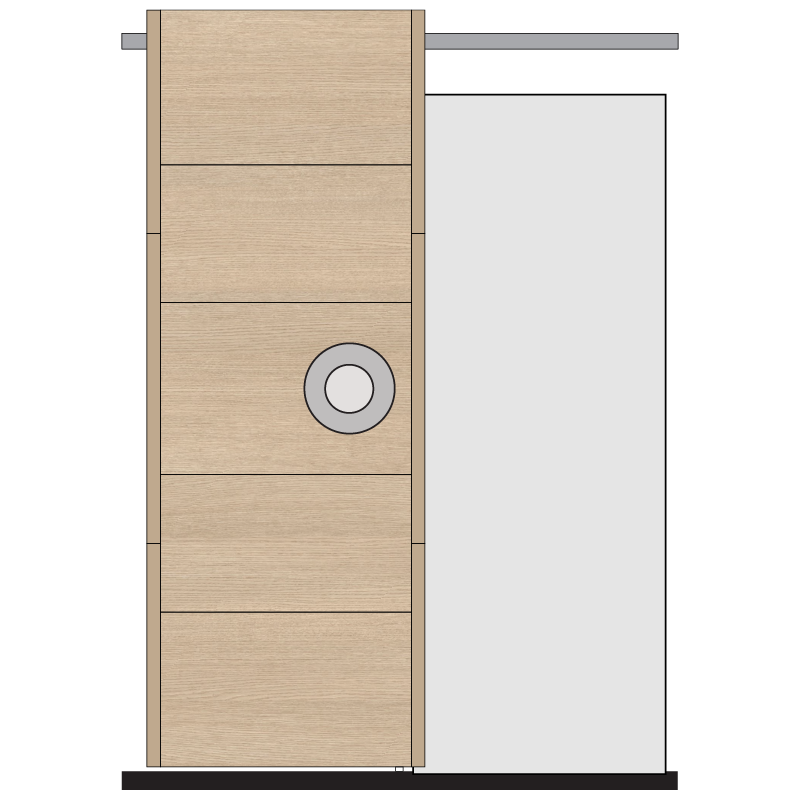
4.5. Great! You have assembled and installed your door.

5.1. Show off your interior arrangement with the newly installed door. Post the photo of your door on social media and tag us.